Showing posts with label home. Show all posts

Tuesday, July 22, 2014

{loft bedroom before & after}


In addition to our outdoor deck (which I'll be sharing next week!), we were able to finish the bedroom area of our loft pretty quickly- I mean there is nothing like sleeping on an air mattress for a week and a half to motivate you right?!?  Our old loft actually had walls around the bedroom area, this time around we are in a true loft situation with the bedroom being located just on the other side of the kitchen separated by a partition wall.

Not much has changed in this room since our Chicago bedroom, we had to lose the slatted bench for space reasons and we brought in the Beverly prints from TheAestate since this is the only wall they will fit on nicely.   The moroccan wedding blanket has found a home at the end of our bed and I love the bohemian vibe it adds to the otherwise glam-inspired decor.  The one problem area I haven't figured out in this room is what to put on the gray credenza (which used to be our bar) that is under our largest (and favorite!) piece of art.  I don't want to overload the piece with a bunch of stuff, but it definitely needs something, but I'm not in a big rush to figure it out since it's always nice to have a little project to work on.

Be sure to check back tomorrow for a special giveaway post with The Aestate!!

Sources to items that are still available for purchase (everything else is old or vintage) at the bottom of the post!


diy navy blue headboard
nightstands + overlays (diy here)
bedside lamps
moroccan wedding blanket
white quilted euro & boudoir shams
Beverly Palm prints
picture frames for large prints
floor mirror


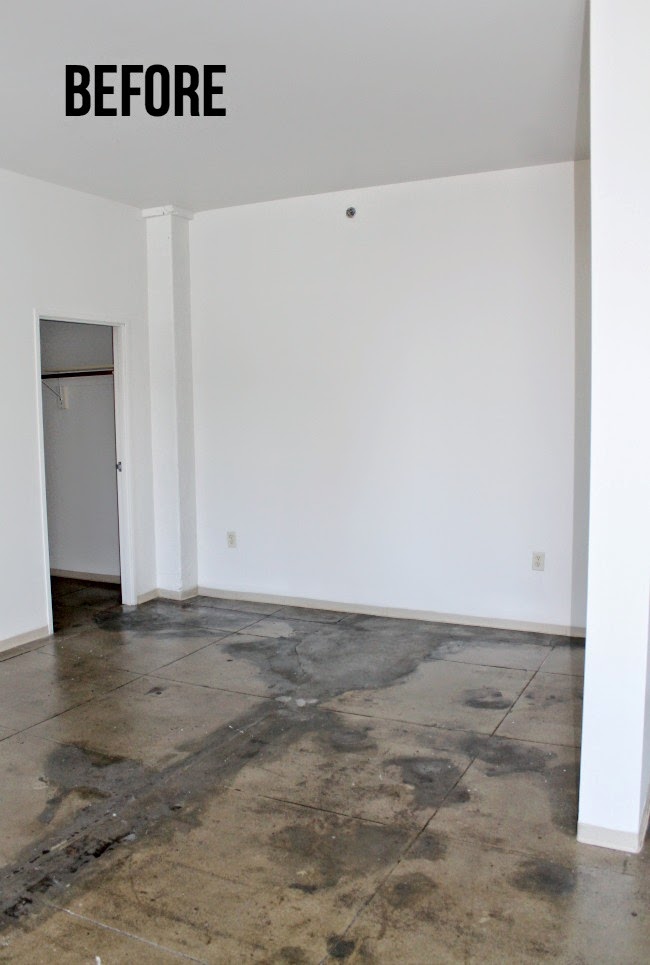
Here's one more sneak peek "before" photo looking into the loft from another angle.  I can't wait to share the living room area which is almost done!!


Tuesday, June 3, 2014

{new dtla loft lease + patio inspiration}


Last week we officially signed a lease on a loft in downtown Los Angeles and will be moving in at the end of this month (so long as all our stuff makes it safely across the country!).  Searching for a new place was somewhat stressful and completely painless at the same time.  I was incredibly worried I would be disappointed with whatever places we found since our last loft was such a lucky find and I loved it so much that it was likely nothing would measure up.  Outdoor space was one of my top wish list items for our new place (especially after living in Chicago weather for the past two years!), but it is very rare to find affordable units that actually have substantial areas of outdoor space in dtla beyond the ridiculous penthouse units.  Many of the converted buildings in the historical core will have maybe 7 or 8 units out of 200 to 300 that happen to have an outdoor deck just based on the odd architecture of the building which was the exact situation with our roof deck last time

I almost couldn't believe it when I got a call about a unit that opened up with almost as much outdoor space than interior space.  We put down a deposit on the newly available unit within 24 hours of that phone call! Our new place has about 820 square feet inside and while I was hoping for a bit more interior square footage, the fact that the deck will be almost 750 square feet more than makes up for it!  The big reason I wanted substantial indoor space was so that we have more than enough room to entertain and we are hoping to put a lot of work into the deck so that we can use it as a additional living space.  Here's some of the inspiration I have been gathering for the new outdoor space!


I absolutely cannot wait to get into the place and start putting it all together!  I promise to share progress along the way via Instagram and all the details once things are finished here on the blog!


Monday, September 16, 2013

{new touch faucet from Delta Faucet}


Today I have the third and final post in my Inspired Living series with Delta Faucet.  Over the weekend, Chris and I installed the new Touch2O faucet that Delta sent over to us- and if it was already clear... when I say "we" installed it what I mean is Chris did all the work and I "supervised."  Faucets are actually surprisingly easy to put in- especially this one since it doesn't need any plumbers caulk.

While the before and after photos might some not seem that drastic, our daily interaction with the sink is significantly improved.  I cannot even explain to you how nice it is to simply touch anywhere on the faucet and have it turn on.  When we are prepping for dinner parties at our place we always make sure the kitchen looks somewhat presentable by the time guests arrive, but in the time leading up to the party it gets pretty messy.  Having the ability to turn on the faucet by tapping the side with my arm or the back of my hand when my hands are dirty from cooking is pretty amazing.  I am also pretty in love with the dramatic profile of the new faucet in comparison to our previous one- I feel like it elevates the look of the entire kitchen!

Click here to check out the initial post where we selected our faucet design and right here is my dream kitchen inspiration.


Delta Touch2O Technology for your kitchen and bathroom is precisely in tune with your every touch. Take the quiz to learn which faucet style best describes you at deltafaucet.com

Disclosure: Compensation was provided by Delta via Glam Media.  The opinions expressed herein are those of the author and are not indicative of the opinions or positions of Delta.

Thursday, September 12, 2013

{diy venetian lace robe}


I have been coveting this amazing robe by Stone Cold Fox forever so when I came across an incredible selection of venetian lace on a recent trip to the downtown Los Angeles fashion district, I just knew I had to try my hand at making one for myself.  A yard and half of this ivory venetian lace, this ivory kimono robe and some white thread is all you need to make this for yourself.

The addition of this intricate lace to a simple luxe silk robe gives it fun romantic-bohemian feel- perfect for a lightweight cover up for lounging in on the weekends.  I was pleasantly surprised at how easy this project turned out to be taking only about an hour from start to finish.  These robes would make for a perfect bridal robe on your big day or you could attach the lace to a fun printed robe for your bridesmaids. Directions for this DIY at the bottom of the post.


{I also picked up some black lace to add to a black version of the kimono robe that I already own} 

{pinning is a must when working with slippery silk fabric} 

 {make sure to set your stitches as wide as possible- you will risk snagging the silk with too tight of a stitch}


{breakfast in bed with muji}


what you need:
  • 3/4 sleeve kimono robe (this would be a fun printed alternative)
  • 1.5 yards of Venetian lace- preferably something 4 inches wide or more (I bought mine from this company which is my favorite place for ribbon & trims- you can call them if you are not local to LA and they will ship anywhere! 
  • corresponding thread 
  • sewing needle
  1. Cut the lace to the diameter of the kimono sleeve
  2. Pin lave on top of sleeve- use lots of pins as it will save you later from making a mistake or attaching the lace unevenly
  3. Using your sewing machine sew a wide stitch simple sew right on top of the lace attaching it to the silk sleeve. Trim any loose threads. note: if you do not have a sewing machine you can certainly hand-stitch the entire piece of lace to attach it to the sleeve using a running stitch.
  4. Hand- sew the ends where the lace meets by using a simple Overcast stitch.
  5. Enjoy your fabulous robe.