Showing posts with label gold. Show all posts

Tuesday, June 25, 2013

{gold + glass coffee table}


We had our previous Ikea coffee table for almost 5 years, it followed us from our first place in Silverlake all the way to our loft in downtown Los Angeles.  When we moved it to the loft, we actually bought a second one of the exact same table and pushed them together to make one massive table.  It wasn't even a coffee table, it was technically a tv stand and it worked really well for a long time....right up until it didn't.  After making a few small purchases for our living room like this art, these ottomans and these pillows, I suddenly realized just how long we had owned this crappy $40 table.  It was definitely time for an upgrade and given our smaller space I definitely wanted something that would make the space feel more open while still providing ample space for our guest's cocktails. 

We decided on looking for a two tiered gold and glass coffee table inspired by images like this and this.  I figured we could easily find a table like this at a vintage store or estate sale- even if it wasn't the right color I was more than willing to spray paint it.  My mom actually spotted this guy at an estate sale in California- took apart the frame, shipped it to us and I had two new pieces of glass cut for it. 

I really love how open this table makes the center of the room look plus the ability to actually see the items on the lower level is really welcome change from the previous table. 


Tuesday, December 4, 2012

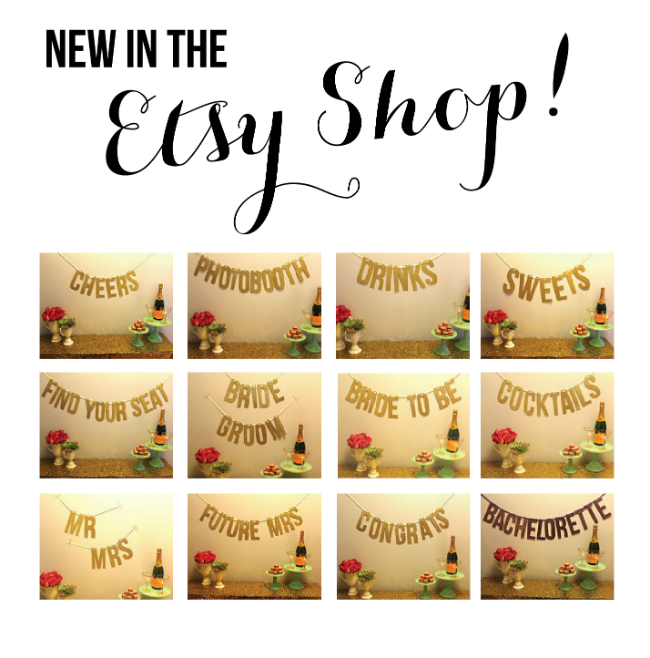
{glitter banners in the etsy shop}


After getting multiple requests to sell the gold glitter Happy Birthday Banner from this post, I decided to add a few for sale in my Etsy shop.  


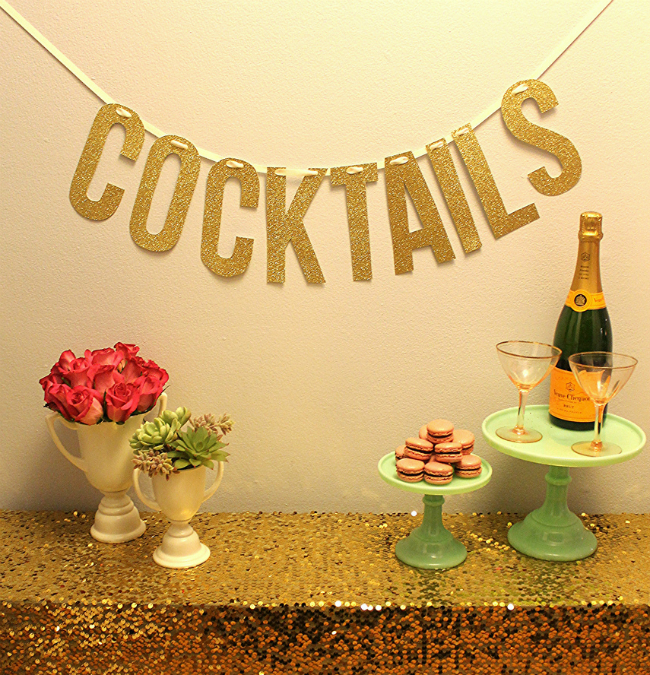
Here are a few of my personal favorites!


Wednesday, November 21, 2012

{floral guide: thanksgiving table arrangement}


Not having access to the flower mart in downtown LA has been a big adjustment for me, but luckily I was able to find a cute flower shop around the corner from our new place that was able to order some amazing cut flowers for me this Thanksgiving.  Here is the flower guide for the two arrangements I put together for our Thanksgiving table this Thursday.  Note that I did end up adding some craspedia to the arrangements that I already had at the house so it didn't end up getting photographed above.


Tuesday, November 6, 2012

{glitter letter banner}


So here's the thing...some people are really good are free hand drawing letters and I just so happen to not be one of those people.  So here's a little tutorial on how you can make a glittered letter banner for yourself without agonizing over horribly hand-drawn letters.  I will warn you that this is certainly not a quick project, but it is rather simple and quite honestly I haven't found a better way to achieve letters like this (if you have please let me know)!!

I have spotted quite of few of these glittered letter banners around (like this or this or these), but haven't really got around to trying my hand at one until now.  I figured if I was going to spend the time making one that I should make a phrase which I could get some use out of in the future so I decided to make a gold glitter "happy birthday" banner for the upcoming Champagne & Desserts party.  Since I know some other people who have birthdays, I can't imagine this will be the last time this banner gets used.

The method is similar to what we used for our wedding signs (see that tutorial here) except this time the letters you are printing are to be used as stencils.


what you need:

  1. Using a simple Microsoft Word document, print out all the letters you will need for your phrase. For my letters which are about 5 inches tall, I used the "bebas neue" font at size 600. In order to save ink, I also changed the letters to an outline rather than a full fill. 
  2. cut out each letter using an exacto knife to get the interior areas.
  3. trace letters onto the back of your gold glitter cardstock making sure to reverse letters that require it.  (one of the best parts about the Bebas font is that many letters that normally would need to be reversed will not require it! yay saving time!)
  4. cut out each glitter letter and use exacto knife for interior areas
  5. using a hole punch, punch out two holes about an inch apart at the top of each letter. For some letters you can punch one hole in each part of the letter like the Y or H.
  6. string your ribbon through each set of hole punches.
  7. enjoy!


Thursday, November 1, 2012

{champagne & desserts party inspiration}

Moving to Chicago was and still is a big transition for me, but one thing that makes the whole situation a million times easier is that we were lucky to move here along with two of our best friends, Josh & Heather,  who happened to get into the same MBA program as Chris!  Heather's birthday is coming up in a few weeks and being that she is one of the girliest girls that I know, I thought a champagne and desserts themed ladies night would be the perfect way to celebrate.  

Here's a little inspiration board I put together for the upcoming fete:


More details from the party to follow- including some yummy champagne cocktail recipes!


Thursday, October 18, 2012

{black & gold guest bathroom}


We signed the lease on our Chicago place almost 5 months before we actually moved.  Even though we never saw our place in person before moving day, I did have a ton of pictures and a floorplan to allow me start dreaming up decor for the different rooms.  One thing I was most excited about was that we would have both a master bathroom and a guest bathroom which meant I could do something a little crazy with the guest bath.  I fell in love with the sexy look of these black walls forever ago, but our loft just did not lend itself to this kind of look since the walls were 20 feet high. I figured the Chicago guest bath would be the perfect opportunity to try out the look of black walls!  The guest bath is pretty small so if the black paint looked horrible it wouldn't be that big of a deal to just paint over it.

We definitely won't be painting over this bathroom anytime soon because I am obsessed with how great it turned out.  The deep black walls mixed with the clean white fixtures would have been a good look on its own, but I really wanted to add in gold hardware and accents to give the room a bit more of a luxe feel.


 {brass tray to hold my perfume}

{bin from Crate & Barrel transformed by my favorite gold spray paint available here}


 {Jonathan Adler's soap dispenser from the "druggist" line . sadly this line is now discontinued}


 {brass guest towel holder with the custom guest towels we originally had made for 
our wedding with our custom crest}


 {I wanted to create somewhat of a "his and hers" look with the towel holders, but rather than going with the obvious printed signs I choose two of my favorite images which I printed on regular cardstock to give them a muted vintage feel.}


 {another inspirational image in a little bit bigger of a frame from Michael's Crafts which I painted gold}


{the mirror is from Ikea and is sold in a matte black finish, but I obviously 
gave this one a few coats of gold spray paint}


We used a true black paint from Ace Hardware for this room and I would give you the exact color name/number, but honestly it doesn't matter because there is only one shade of black available in most paint color brands and they will all work for you.  I could not have made this project happen without some trusty gold spray paint and the fact that we are fortunate renters with landlords that chose beautiful white Kohler bath furnishings.

After seeing the results of this room, I would most definitely paint a bathroom in any of our future places black.  I also think this color would also lend itself well to a second bedroom that is converted into a closet/dressing room.